Time Tracking
Everything you need to know about tracking your time in PraxisMS.
Dashboard Overview
Your dashboard provides a quick snapshot of your time tracking activity:
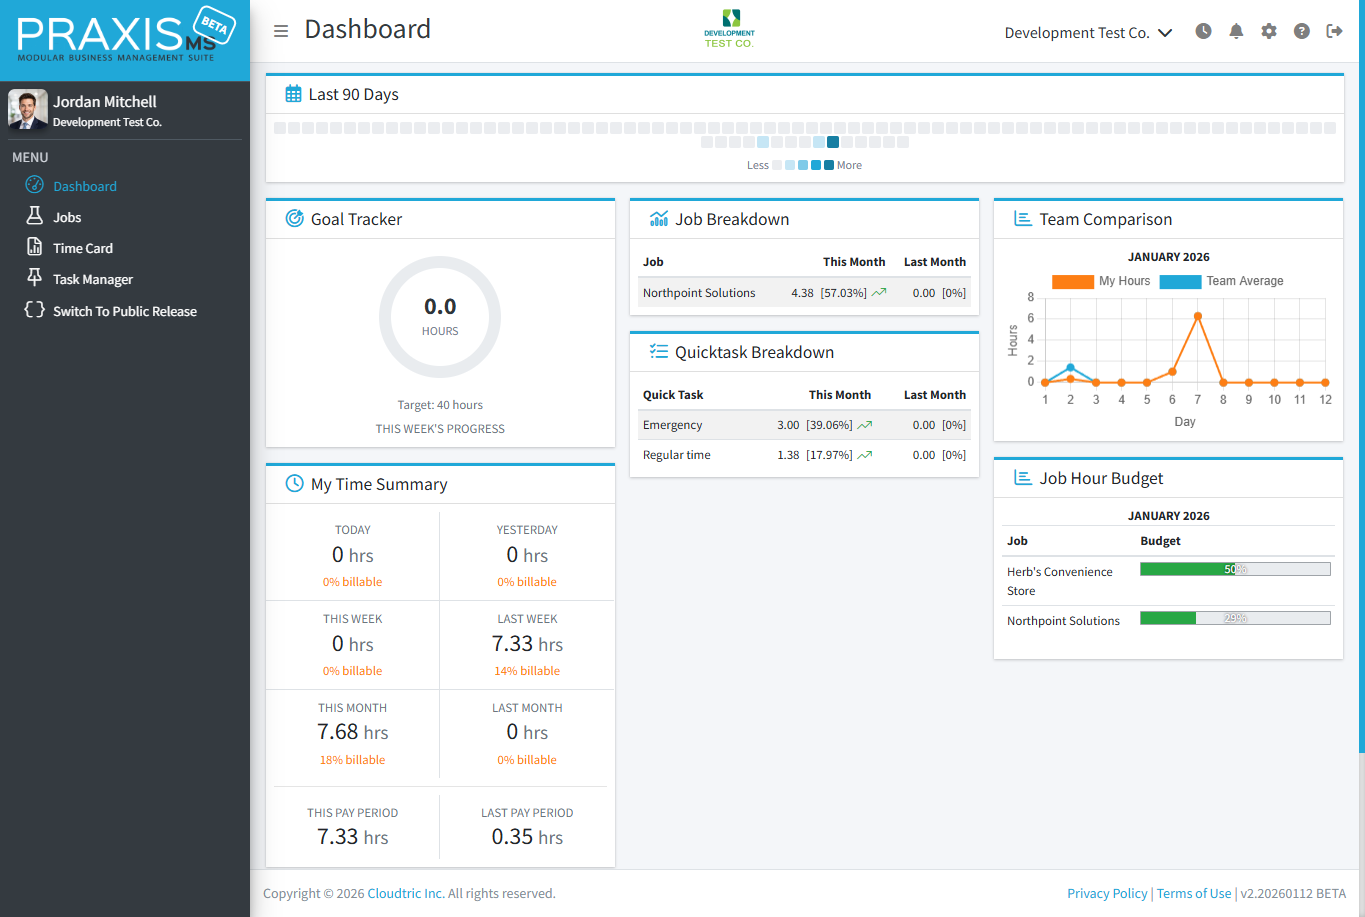
Key Metrics
| Metric | Description |
|---|---|
| Progress Ring | Visual indicator showing hours worked vs. target hours. The ring fills as you approach your goal. |
| Today | Total hours tracked today |
| This Week | Total hours for the current week (Monday-Sunday) |
| Pay Period | Total hours for the current pay period. Pay period dates are set by your administrator. |
The progress ring color changes from blue to green as you get closer to your target hours.
Using the Timer
The timer is the easiest way to track time. It runs in real-time and automatically calculates your hours.
Starting a Timer
- Look for the timer panel on the right side of your screen
- Click the Start button (green play icon)
- Select a Quick Task from the dropdown
- If Job Costing is enabled, optionally select a Job
- The timer starts counting immediately
Stopping a Timer
- Click the Stop button (red square icon)
- Your time entry is automatically saved
- The entry appears on your Time Card
Adding Notes While Timing
You can add notes to describe your work while the timer runs:
- Click the Notes field below the timer
- Type your description
- Notes save automatically as you type
Your company may have an auto-stop rule. If so, timers will automatically stop after a set number of hours (e.g., 12 hours) to prevent accidental overnight timers.
Switching Tasks
While your timer is running, you can change the Quick Task, Job, Notes, or Billable status at any time. Your changes save automatically.
If you need separate time entries for different tasks (for example, to track time on two projects individually), stop the current timer and start a new one.
Viewing Your Time Card
Your Time Card shows all your time entries. Access it from the sidebar menu.
Time Card Features
- Date Navigation: Use the arrows or calendar picker to view different days/weeks
- Week View: See all entries for a week at a glance
- Daily Totals: Hours are summarized for each day
- Status Indicators: See which entries are pending, approved, or rejected
Filtering Entries
Use the filter options to narrow down your view:
- Date Range: Select specific start and end dates
- Quick Task: Filter by task category
- Job: Filter by job/project (if enabled)
- Status: Show only pending, approved, or rejected entries
Manual Time Entry
Forgot to start your timer? You can add time entries manually.
Adding a Manual Entry
- Go to your Time Card
- In the Manual Time Entry card, select the Start Date and Time
- Enter the End Date and Time
- Optional: You can enter your time by Elapsed Time and enter the number of hours instead. Useful for Stat, Holidays, or Vacation payouts
- Add Notes describing the work
- Select a Quick Task
- Select a Job
- Click + to save
Your company may restrict manual entries. For example, you might not be able to add entries for dates in the past beyond a certain point, or entries may require administrator approval.
Editing Time Entries
Need to fix a mistake? Here's how to edit your entries.
What You Can Edit
- Start and end times
- Quick Task category
- Job assignment (if enabled)
- Notes
- Billable status
How to Edit
- Go to your Time Card
- Find the entry you want to edit
- Click the time entry you want to Edit
- Make your changes
- Click Update
Editing Restrictions
You may not be able to edit entries if:
- The entry has been approved by an administrator
- The entry is in a closed pay period
- Your company has edit restrictions for past dates
Contact your administrator. They can unlock entries or make changes on your behalf.
Understanding Approvals
Your company may require time entries to be approved by an administrator before payroll processing.
Approval Statuses
| Status | Meaning |
|---|---|
| Entry is waiting for review | |
| Entry has been approved and is included in reports. Editing this entry will cause it to return to waiting for review (unapproved) | |
| Entry was rejected. Check the rejection reason and edit if needed. | |
| Company has been locked for the period of this entry. It can no longer be modified. |
If Your Entry is Rejected
- Check the rejection reason (hover over the status or click the entry)
- Edit the entry to fix the issue
- Save your changes
- The entry returns to Pending status for re-review
Add clear notes to your time entries. This helps administrators understand your work and speeds up the approval process.
Quick Tasks
Quick Tasks are categories that describe the type of work you're doing. Every time entry requires a Quick Task.
Common Quick Tasks
Your administrator sets up Quick Tasks for your company. Common examples include:
- General Work
- Meeting
- Administrative
- Training
- Travel
- Break
Quick Task Properties
Each Quick Task has settings that affect your time entries:
- Billable by default: New entries using this task will be marked as billable
- Active/Inactive: Inactive tasks can't be selected for new entries
Quick Tasks are managed in Company Settings > Quick Tasks. See the Company Settings guide for details.
Billable vs Non-Billable Time
If your company uses Job Costing, time entries can be marked as billable or non-billable.
What's the Difference?
| Type | Description | Example |
|---|---|---|
| Billable | Time that can be charged to a client or project | Client meeting, project work, deliverable creation |
| Non-Billable | Internal time that won't be charged to clients | Internal meetings, training, administrative tasks |
Setting Billable Status
Billable status is typically set automatically based on your Quick Task, but you can override it:
- When starting a timer or adding a manual entry, look for the Billable toggle
- Toggle can be turned on or off as needed
- You can also change this when editing an entry
Accurate billable tracking helps your company understand project profitability. When in doubt, ask your administrator how to categorize your time.
- Reports - Generate time reports
- Job Costing - Track time against projects
- Approving Time - For administrators